
Been with Ellen for a few days now. Primarily, I have tried to seal the large leakage from the exhaust hose just where seawater is dumped. Ellen has fresh water cooling but the construction is so stupid that the salt water from the heat exchanger is dumped in a cast iron connection that sits against the exhaust pipe.

It is not so smart to release salt water at the outlet of the manifold, everyone knows what salt water does with cast iron over time. If you buy an expensive fresh water cooling system, it is very bad for the installer not to solve the dumping of the sea water from the heat exchanger via a stainless steel jacketed exhaust hose from the beginning.
The damage caused by this will cost around 15,000 SEK to repair. There is nothing I will do now, but it will be a winter project. Now I will try to make Ellen removable through a temporary rubber bandage.
The bandage is now in place but I have not been able to test if it holds together for the water pressure from the heat exchanger. I tested the engine without connecting the dump hose to the outlet without letting the water circulate in a bucket just to test the engine itself.

But now I went through the events a little in advance. Before I started the engine, I started the engine compartment fan to suck out any gasoline vapors, or rather I thought I started it. I didn’t hear it when I pulled out the switch so I started by finding out where it was sitting. It turned out that it was located just below the fan cover on the stern deck and it did not spin.

I managed to remove it even though my arms barely reached it under the stern deck and could see that the electric motor and fan blades had detached from the fan housing itself and could not rotate The 2 brass screws holding the electric motor in place were completely broken. The only way to get the fan together was to drill new holes in the fan housing and do new threads for stainless steel screws
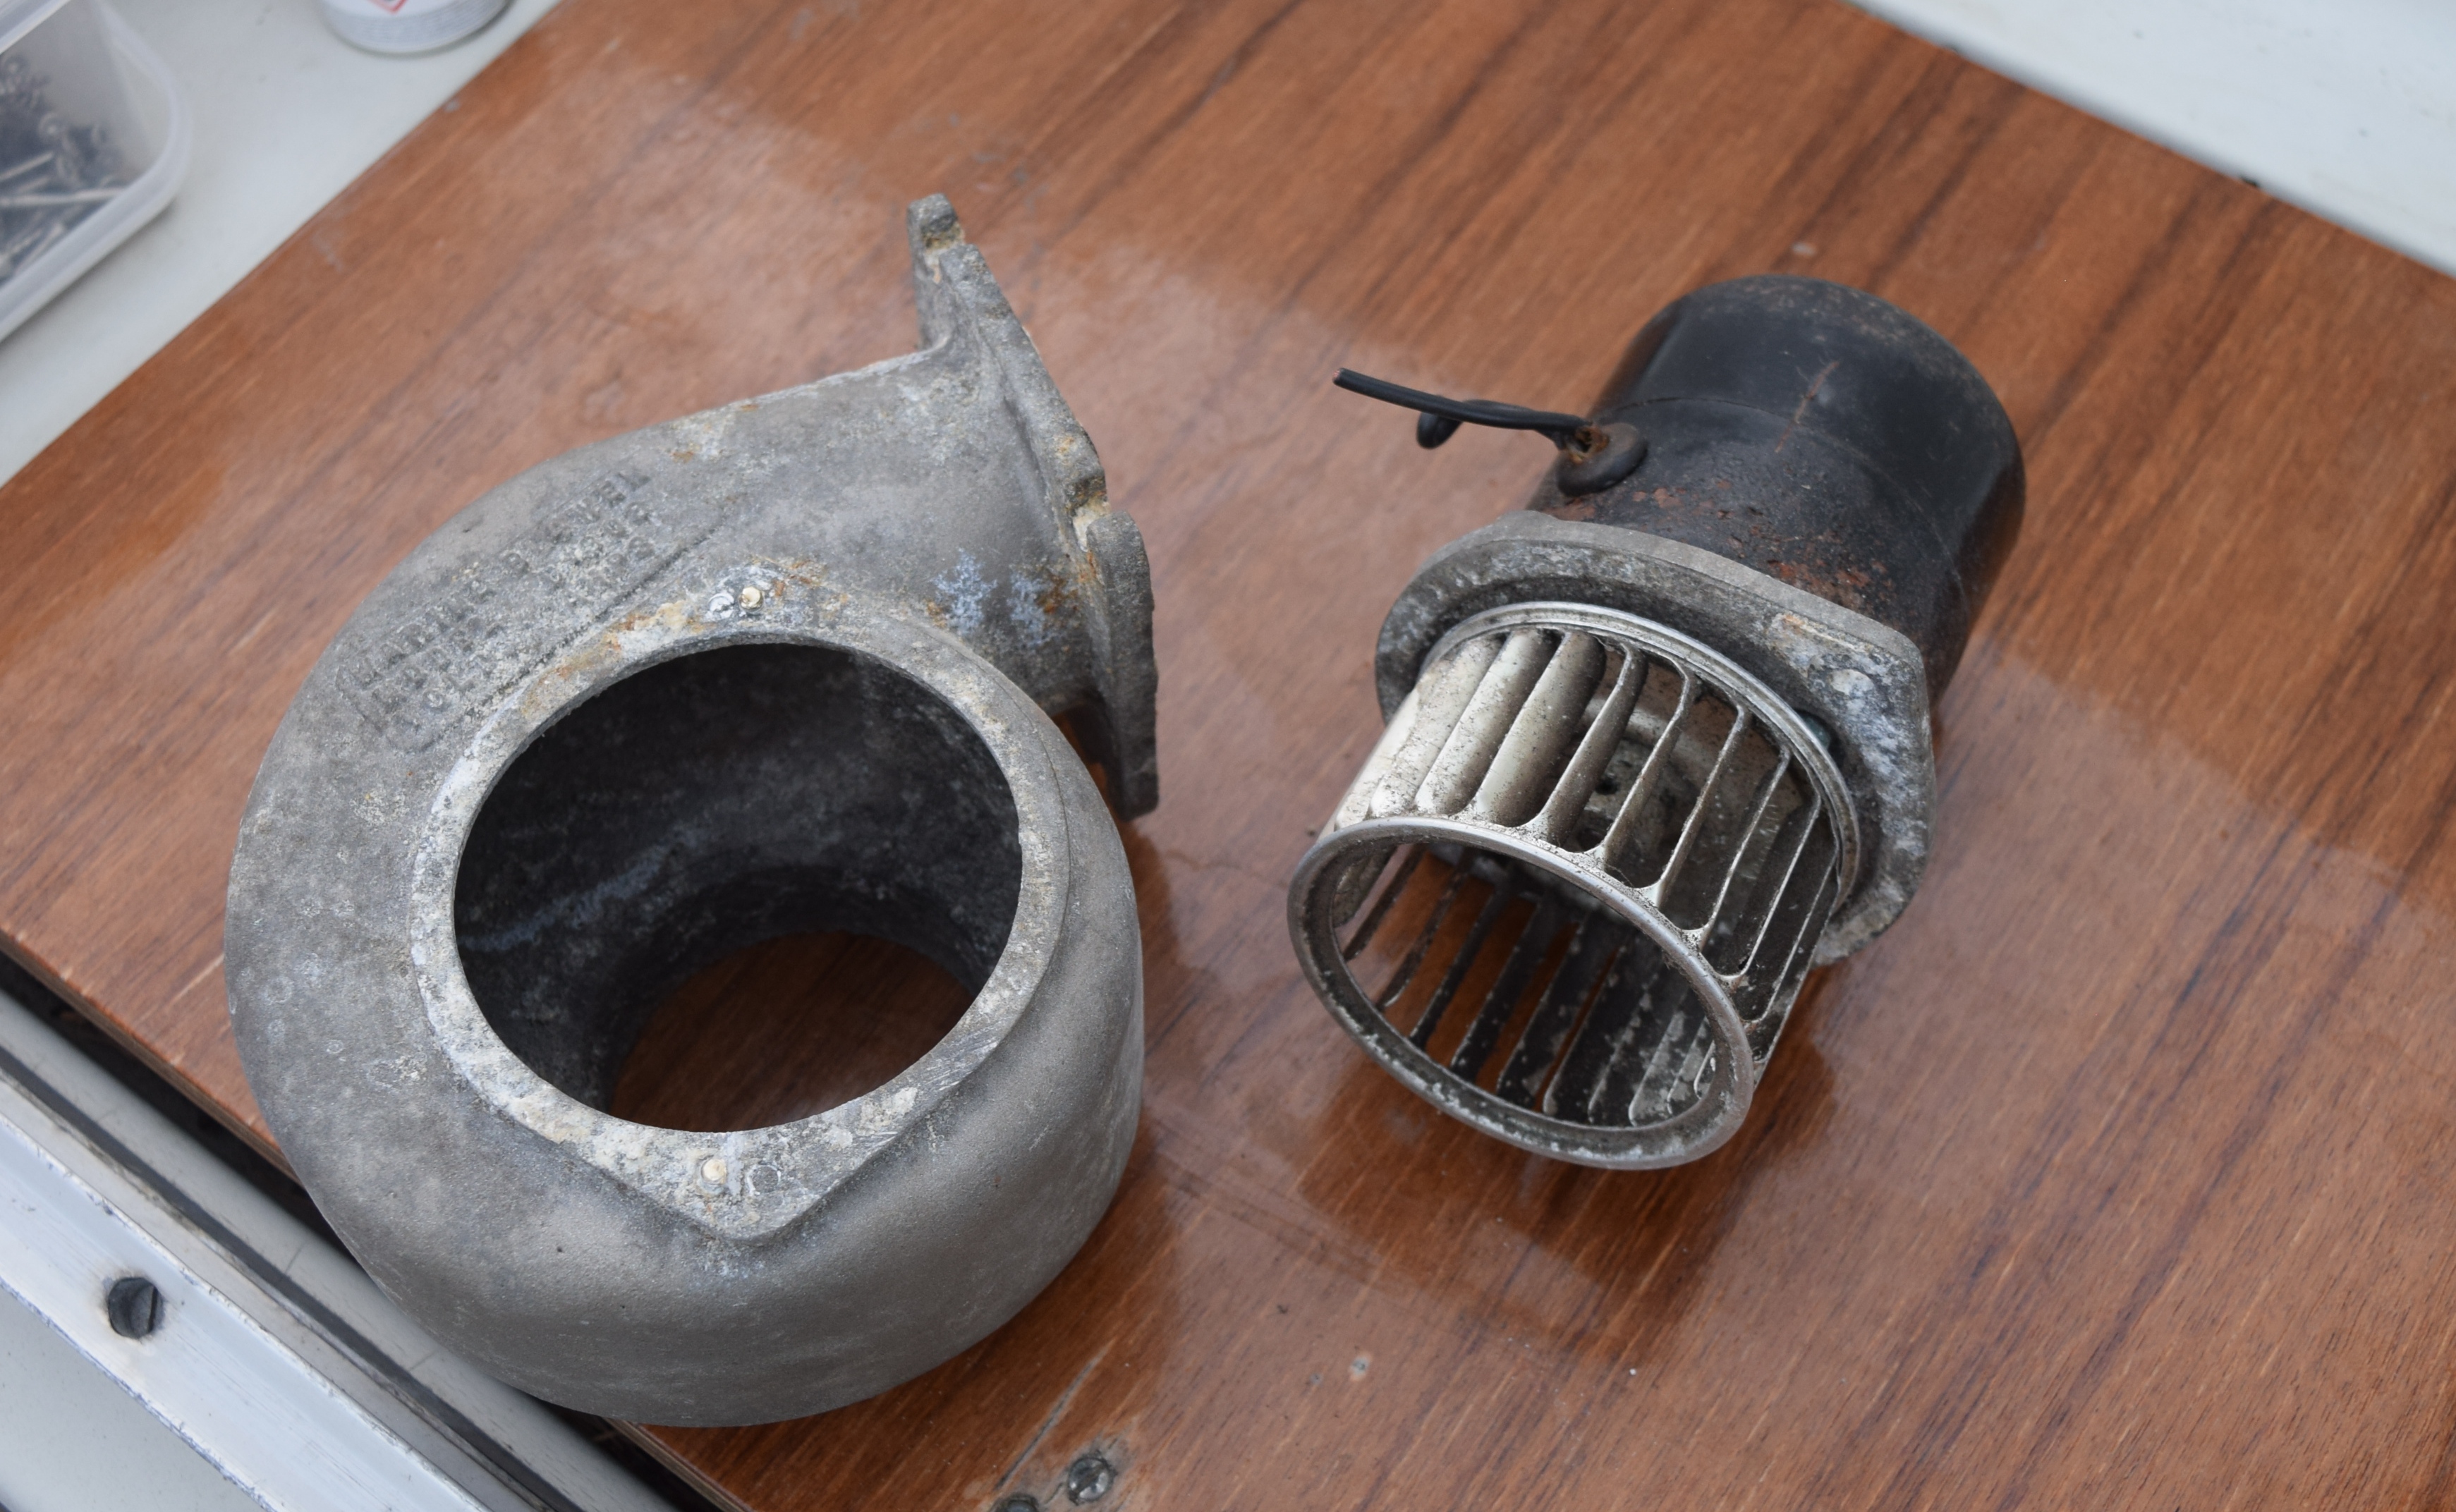
It sounds simple but in practice it was not so. I had no metal drills or threaded pins, you can’t think of everything. It was 6 o’clock in the evening and the marina’s workshop was closed. Now I can announce that it is possible to drill in aluminum with a conical drill to a wooden countersink if you have plenty of time and I thought I had. I then found a pair of perfect stainless steel screws that I managed to use to do the threads with, so everything was resolved and the darkness settled over the marina so now it was good night.
Leave a Reply